


If you produce videos for work, school, or social media, chances are you’ve had to contend with poor cuts. These are cuts that sound off, jump too much, or disrupt the rhythm of your video.
They can detract from your message and make your video difficult to watch. They don’t have to be a difficult fix. Using the appropriate hardware, you can make seamless cuts in seconds.
Among the software that can help you is CapCut desktop video editor. It provides you with the equipment you require to seamlessly correct cuts.
In this section, you will learn how and why you should correct awful cuts, which software to use, and how to correct cuts in CapCut PC through a step-by-step guide.
Why Repairing Poor Cuts Is Important in Video Editing
A poor cut occurs when clips are not continuous and cause jumps, clipped words, or scene breaks. It might mislead viewers and result in them missing content.
In tutorials, vlogs, or lessons, clean cuts maintain the video’s professionalism and tidiness. Zoom in on the timeline through desktop video editor CapCut to precisely correct the cuts.
If a word has been clipped, utilize tools such as text to speech to fill the gap and maintain your message.
CapCut Desktop Editor Features that Assist in Repairing Poor Cuts
Features of the CapCut desktop video editor assist in smoothing out jerky cuts in a snap. Frame-by-frame trimming occurs by zooming into the timeline.
Auto-snap tightens clips, and smooth transitions complete jump cuts. The interface is easy for novices. Edits are not destructive, so originals are not damaged.
Premium transitions are paid. For a little added glamour, the AI video generator includes quick shots that seamlessly join clips together.
Steps to Fix Bad Cuts in CapCut PC
Step 1: Install CapCut Desktop Video Editor
Go to the official CapCut website and download the CapCut desktop video editor. This version is made for PC and is not the same as the mobile app.
Follow the setup steps to install it. Then sign up using your email. It’s free to sign up, and you’ll land on the main screen.
 Step 2: Validate Your System and Start the Editor
Make sure your computer is compatible with the system requirements detailed on the website before editing. This prevents lag while working.
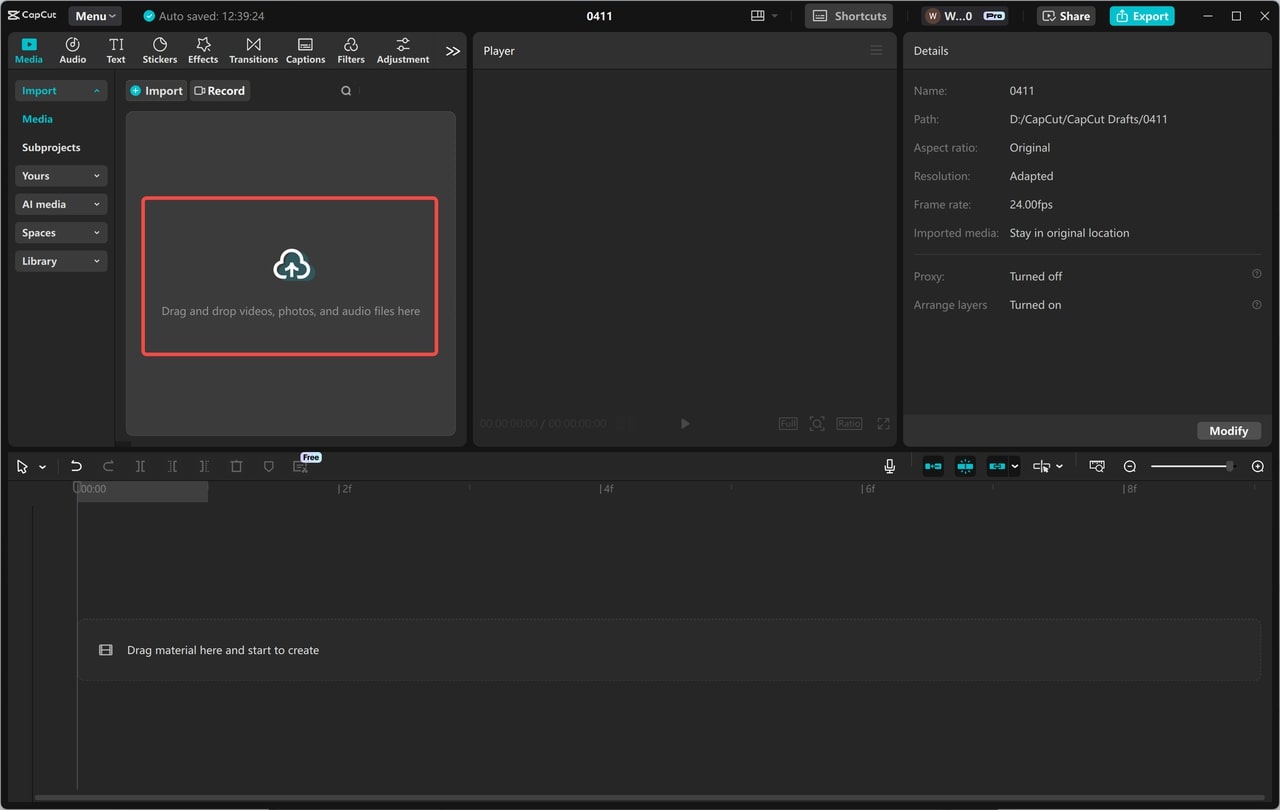
Once ready, start CapCut PC and select “New Project.” This opens the timeline page where all the features are organized in a systematic way. Now you can proceed and add your video so that editing begins.
Click the “Import” button on the left panel. Choose your video file and bring it into the media bin. Drag the clip onto the timeline.
Use the preview screen to play the video. Look for any part that jumps or feels rough. These spots are where you’ll need to fix cuts in the next steps.
 Step 3: Split the Clip at the Rough Cuts
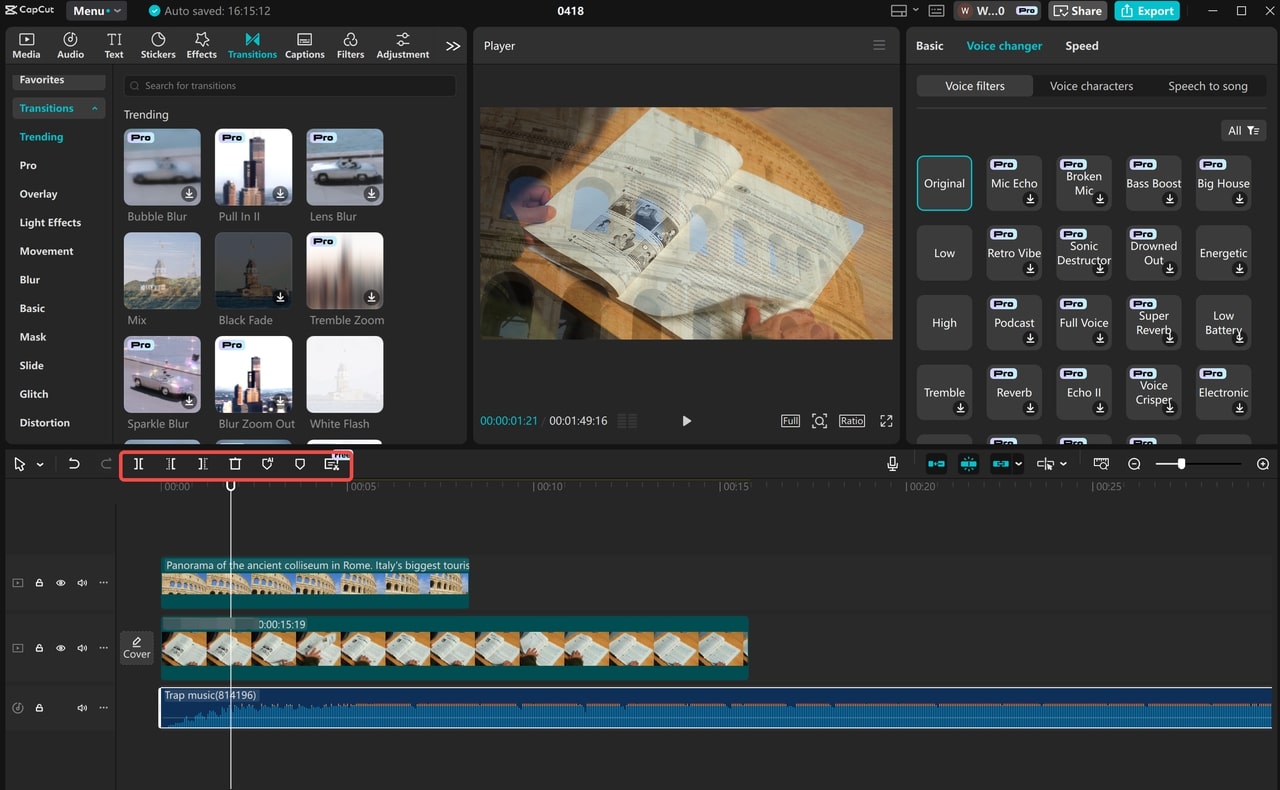
Put the playhead at where the cut appears to be off. Choose the clip and click on the “Split” icon. Do this at the beginning and end of the rough part.
You can now delete or reposition the split part. Frame-by-frame editing allows you to fine-tune the timing with precision for smooth flow in your video.
 Step 4: Add Transitions or Visual Fixes
Now fill the gaps with natural transitions. Select a fade, slide, or dissolve transition. Place it between clips. Use motion blur or cutaway clips only in an emergency.
You can also experiment with the voice changer feature of CapCut PC to repair broken audio or sync voice tone across cuts.
 Step 5: Preview and Export Your Video
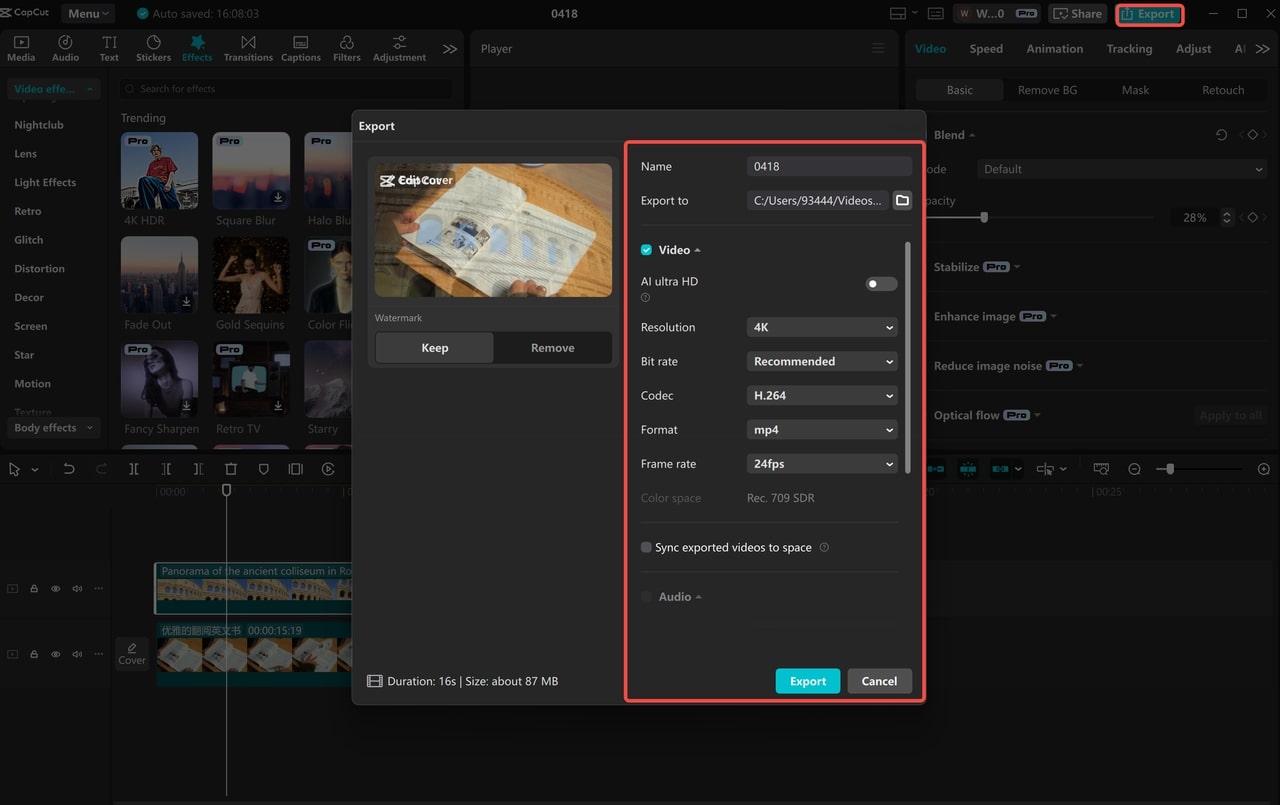
View the full video in preview screen. Verify for any omissions of cuts or sound problem. If required, return and fine-tune.
When satisfied, click on “Export.” Select the type and quality. Click save. Your video is now ready for sharing with clean edits and no bad cuts being left behind.
 Pro Tips to Avoid Bad Cuts in the Future
Good video begins with good planning. While shooting, attempt to hold the camera steady and insert a slight pause before and after every line or movement.
This leaves you with space to cut later without disrupting the flow. Utilize the multi-track timeline of CapCut desktop video editor to organize your clips and make your cuts precise.
Always preview your whole video before saving. It helps in catching anything that needs a fast fix. Clean cuts are easier when your clips are neatly arranged from the start.
Also, handy tools like the AI video generator can be used to add smooth visual transitions or overlays between clips.
This keeps your viewer engaged and renders your edits looking natural. Paying attention while shooting saves much time while editing.
Conclusion
Poor cuts spoil a good video, but they should not. Rough edits are no bother to correct, with the right gear and know-how. CapCut PC makes it simple to cut, split, and polish your clips.
Some of the tools are free, but some of the more complicated ones might cost. Use the steps here on your next project, and bask in the quality and polish of your resulting videos.